
Dell™ Inspiron™ 8500 Service Manual
|
|
CAUTION: Before performing the following procedures, read the safety instructions in your Owner's Manual. |
 |
NOTICE: To avoid electrostatic discharge, ground yourself by using a wrist grounding strap or by periodically touching an unpainted metal surface (such as the back panel) on the computer. |
The system board's BIOS chip contains the Service Tag sequence, which is also visible on a barcode label on the bottom of the computer. The replacement kit for the system board includes a CD that provides a utility for transferring the Service Tag sequence to the replacement system board.
|
NOTICE: Disconnect the computer and any attached devices from electrical outlets, and remove any installed batteries. |
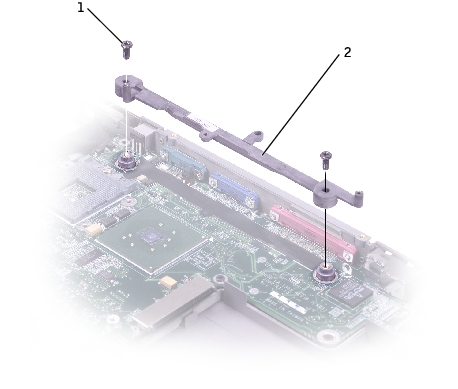
1 |
|
2 |
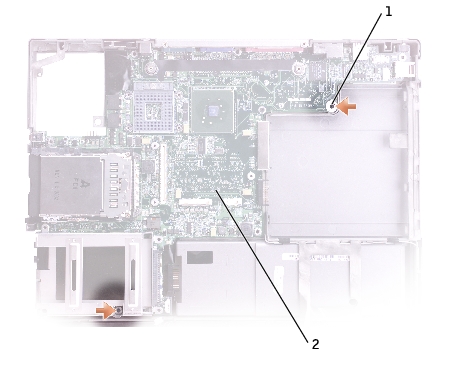
1 |
|
2 |

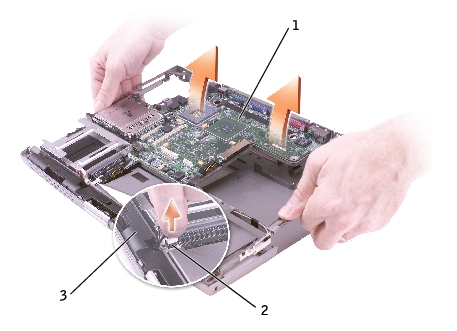
1 |
1 |
|
2 |
|
3 |
|
NOTICE: Before turning on the computer, replace all screws and ensure that no stray screws remain inside the computer. Failure to do so may result in damage to the computer. |
 |
NOTE: After replacing the system board, enter the computer Service Tag sequence into the BIOS of the replacement system board. |