Back to Contents Page

Microprocessor Thermal-Cooling Assembly

Dell™ Inspiron™ 8500 Service Manual


Removing the Microprocessor Thermal-Cooling Assembly

CAUTION: Before performing the following procedures, read the safety instructions in your Owner's Manual.
NOTICE: To avoid electrostatic discharge, ground yourself by using a wrist grounding strap or by periodically touching an unpainted metal surface (such as the back panel) on the computer.
NOTICE: Disconnect the computer and any attached devices from electrical outlets, and remove any installed batteries.
  1. Follow the instructions in "Preparing to Work Inside the Computer."

  2. Remove the keyboard.

  3. Remove the fan.

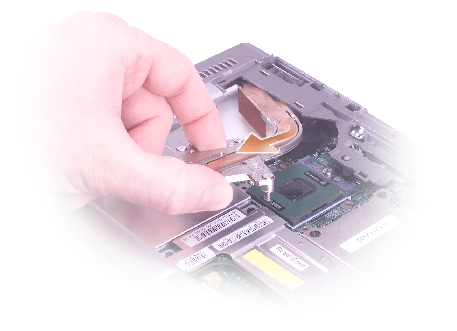
NOTE: You can remove the microprocessor thermal-cooling assembly with the fan attached.
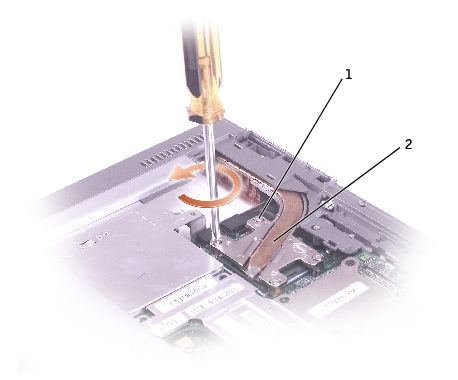
  1. Loosen in consecutive order the four captive screws, labeled "1" through "4," that secure the microprocessor thermal-cooling assembly to the system board.

1

captive screws (4)

2

microprocessor thermal-cooling assembly

  1. Rotate the microprocessor thermal-cooling assembly up toward the side of the computer and away from the system board.

Installing the Microprocessor Thermal-Cooling Assembly

  1. Place the left side of the microprocessor thermal-cooling assembly under the palm rest and rotate the assembly onto the system board.

  2. Tighten the four captive screws, labeled "1" through "4," in consecutive order.


Back to Contents Page